

So recently, but will actually be published later and it’s a long project and far into the future for completion. Anyway, part of it has been to learn and implement Angular into the display of data in the project as a requirement. As I’ve learned Angular I’ve appreciated it’s setup, realising my own website is somewhat similar:
- I have template html files which I use for certain blocks of the website.
- I use javascript (jQuery) to retrieve and update the display of the html: a Component/s and service/s combination.
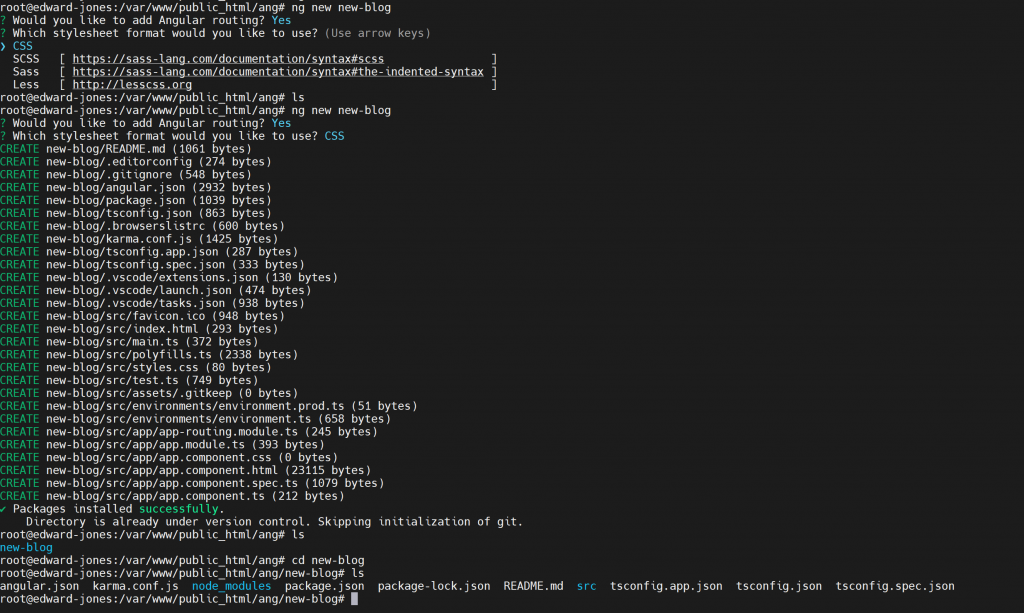
Now there’s probably a much better and more expansive list of similarities and of course, we will have alot of differences. But given these two factors I’ve decided to venture into moving my website to Angular, first to see what I end up with. So, let’s get started, navigating to my public web folder I make a new directory called ang and then cd in and run:
ng new new-blog
I decide to stick with Angular routing, what we’ll also do is adapt any backend PHP during this article to a single PHP page which will handle every type of request we can retrieve from Angular.
I won’t create a Service for every request as a result, because I will pass the function type to a single URL. We’ll keep the current URL’s but redirect these using Apache to a single file.
I will however have a service for each different function set. This should become evident later. I also select CSS as this is my current CSS method.
At this stage I think it’s best to switch to visual code as I have been shown by the tutorials I followed on youtube on Angular.
Trying to get a good interface working turns out to be a bit trickier than I expected. But I wanted to crack on so I decided I would use ng build. Later I want to get ng serve working with VSCode editting through SSH but I just want to get an operational setup for angular too for my sandbox.
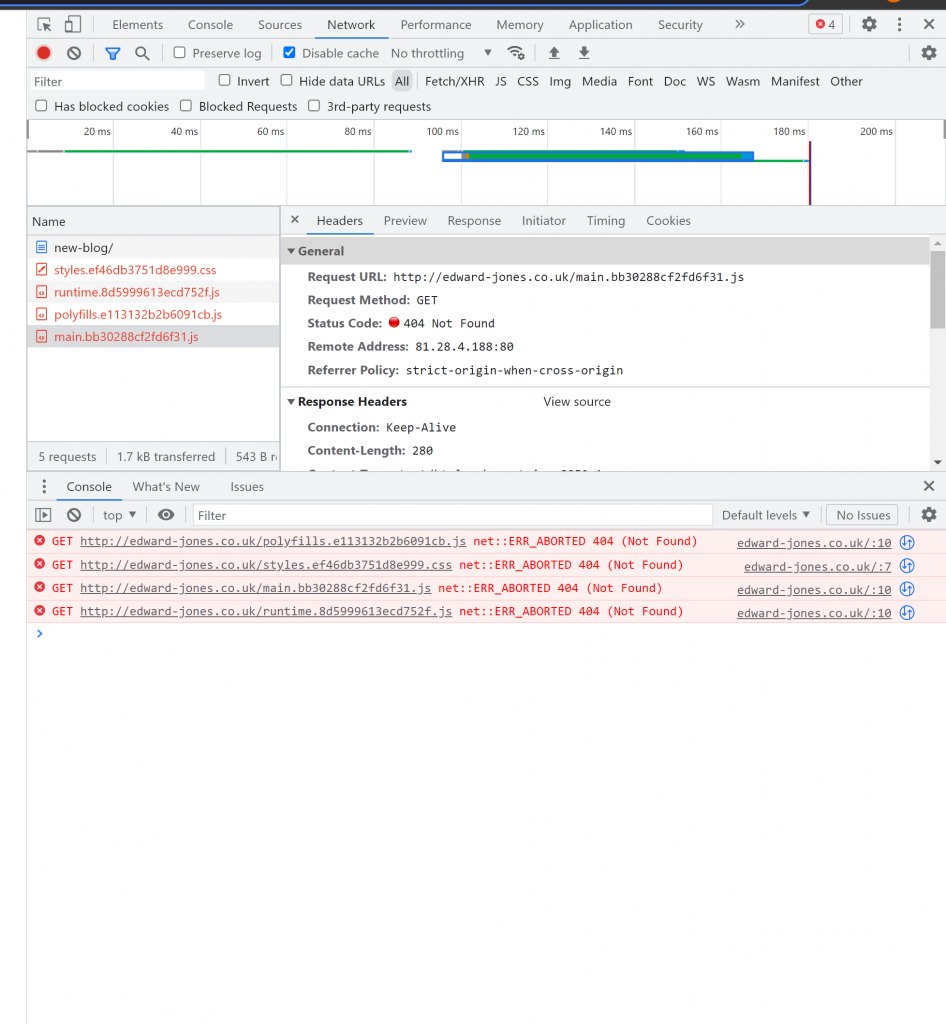
So I start with ng build and then can navigate to it in my web browser via:
http://edward-jones.co.uk/ang/new-blog/dist/new-blog/
However the first thing I get is:
I next modify the line:
<base href="/">
To:
<base href="/ang/new-blog/dist/new-blog/index.html">
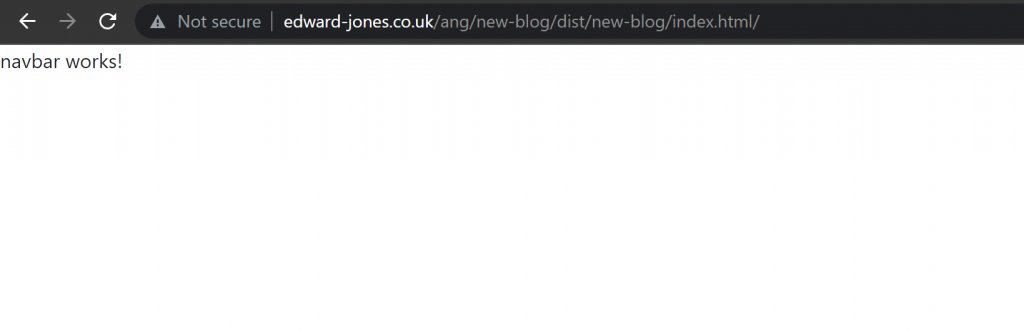
With this change, I now get a good outpoint:
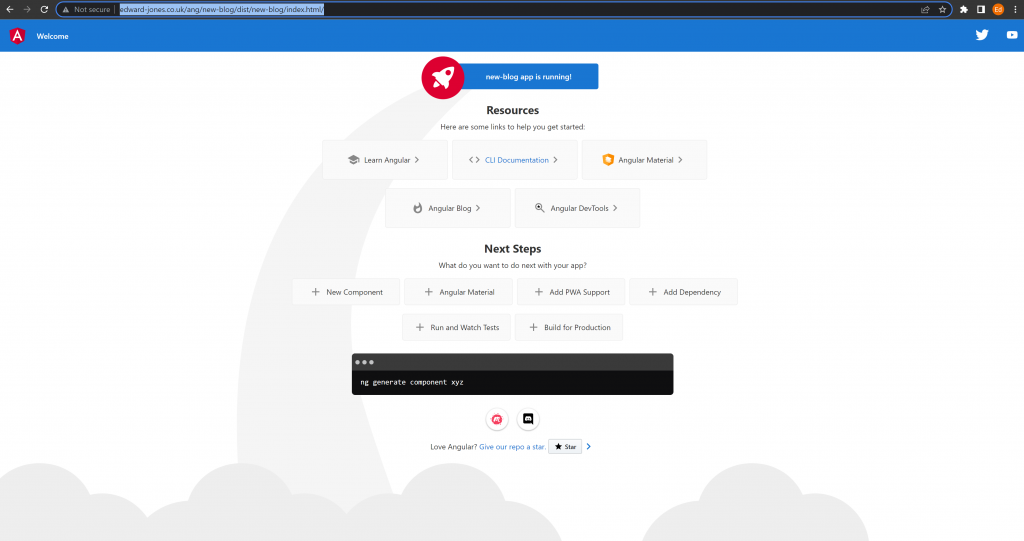
Now obviously we don’t want any of this stuff, we want a fresh start. The easiest way to always do this is by modifying our app.component.html page – delete all it’s contents! Let’s move to our src/app directory now as this is where we’ll work for a while.
Now rebuild the app we should have a blank page. What I also like about Angular is the ability to test code as it has some form of qualification with a build stage. This could allow me to setup gitlab and manage my website more appropriately with an issues and features list, versioning and source code control with a pipeline and test procedures. Anyway that’s future stuff, just getting started is the challenge.
So firstly, I know I need to use bootstrap as that’s my old model, but I would it to be as angular as possible. Finally I found this great article:
https://www.freecodecamp.org/news/how-to-add-bootstrap-css-framework-to-an-angular-application/
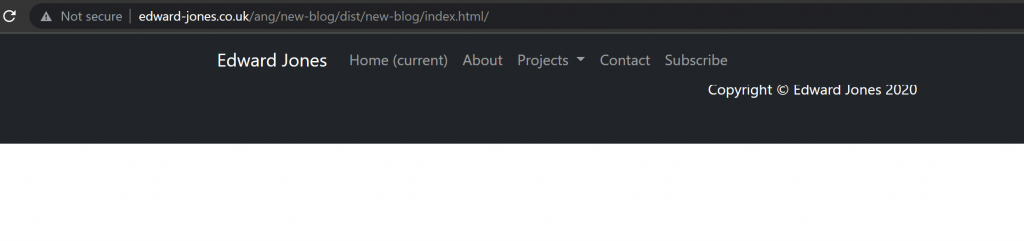
And after manually changing the base-href in the build folders index.html to the actual address I get:
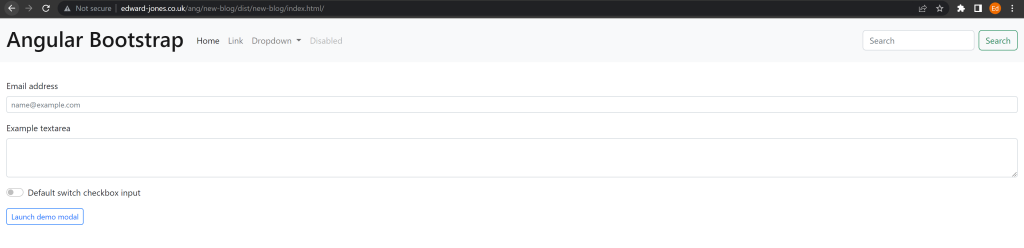
So we’ve managed to shift this application a little closer to our websites design. In production our base-href will in fact be “/” but for now it’s in this isolated folder.
I simplified the build process by creating a build script which executed bash and called the build stage and then used sed to replace the base href in the product version for now.
Now that we have that all in place we can remove most of the content for our app.component.html. We really want to build everything we can as sections and each section is a component. To begin, I’ll have 3-4 components, one the menu bar, another the footer, then 1-2 as the main sections.
Each component will follow the modularity paradigm and several sub-components can and probably will be made. For starters, let’s get the header component started and first by building it as one component but with the intention to split it out in future.
Now let’s re-use as much as possible, so looking at the bootstrap angular documentation we can find our component for nav:
https://ng-bootstrap.github.io/#/components/nav/overview
We can then have a look at the custom style example and it’s best to view this in blitz:
https://stackblitz.com/run?file=src%2Fapp%2Fnav-custom-style.html
What it looks like though is that this is mainly just that angular knows to add the bootstrap pre-requisites (CSS, jQuery and js files). The actual html part we previously injected directly into app.component.html so this was part of our base template. What we actually want to do is load it from another component into our final index.html product through typescript. So let’s start this process by creating the component in the CLI:
ng generate c navbar
This creates our first component!
When we inspect our ts file we get:
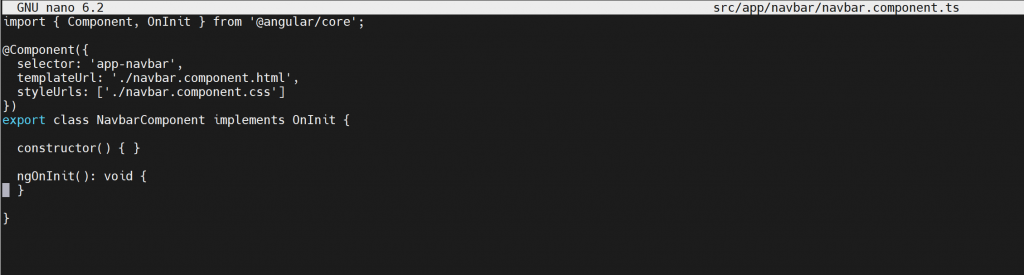
So things are already set up mostly, note we’ll need to use the ngOnInit later for our service to load the project categories.
I modify my app.component.html to now include the html generated by this component with:
<!doctype html><html lang="en">
<head>
<meta charset="utf-8">
<title>Angular Bootstrap 5 Examples</title>
<base href="/ang/new-blog/dist/new-blog/index.html">
<meta name="viewport" content="width=device-width, initial-scale=1">
<link rel="icon" type="image/x-icon" href="favicon.ico">
</head>
<body>
<app-navbar></app-navbar>
</body>
</html>
Where:
<app-navbar></app-navbar>Is the important part as our navbar component is linked to this section and that’s how angular knows to load it. I now get the basic:
So we’ve got a component where it injects HTML, not our HTML, but some, let’s start modifying this now. We can copy and paste most of our HTML code in fact but we also modify along the way to match to dynamically load data where needed .
From a previous migration/modularisation effort my menu is actually in it’s own html file in my templates folder so it was just a matter of copying that snippet of code.
After doing so and rebuilding I get:

So we’re getting close, but we don’t have the CSS I was expecting, the locations of things, the links are incorrect and the projects submenu doesn’t load anything yet. But it’s a start.
Next I want to load my Project categories into my menu and also start establishing how we load each page. As we know, angular is a single page application but we have 5 different types of pages:
- Home
- About
- Categories page
- Articles page
- Contact
In all, there is a header and a footer. So similar to this example article we can use that setup and setup routing finally:
https://www.smashingmagazine.com/2019/02/angular-application-bootstrap/
Kudo’s to this blogger, it finally put routing into a manner I could understand out of all the rusty documentation out there on the subject. Let’s start with the navbar though or rather “header” and get data loaded into this via a service. This article also mentions it to some extent:
This is where we need to create a service and can do so in the CLI via:
ng generate service wordpressThis will be the service in our angular application which delivers on any wordpress based REST API calls.
Through much mixture of documentation I finally settled on this as my code setup:
app.module.ts:
import { NgModule } from '@angular/core';
import { BrowserModule } from '@angular/platform-browser';

import { AppRoutingModule } from './app-routing.module';
import { AppComponent } from './app.component';

import { NgbModule } from '@ng-bootstrap/ng-bootstrap';
import { NavbarComponent } from './navbar/navbar.component';

import { HttpClientModule } from '@angular/common/http';

@NgModule({
  declarations: [
    AppComponent,
    NavbarComponent
  ],
  imports: [
    BrowserModule,
    NgbModule,
    AppRoutingModule,
    HttpClientModule
  ],
  providers: [],
  bootstrap: [AppComponent]
})
export class AppModule { }
Thanks to:
https://stackoverflow.com/questions/53769138/nullinjectorerror-no-provider-for-e-on-angular-7
wordpress.service.ts
import { Injectable } from '@angular/core';
import { Observable, throwError } from 'rxjs';
import { catchError, retry } from 'rxjs/operators';
import { HttpClient, HttpHeaders } from '@angular/common/http';

export interface Categories {
  heroesUrl: string;
  textfile: string;
  date: any;
}

@Injectable({
  providedIn: 'root'
})
export class WordPressService {

  constructor(
    private http: HttpClient) { }

  getCategories()  {
    return this.http.get<Categories>('http:\/\/edward-jones.co.uk\/blog\/wp-json\/wp\/v2\/categories');

  }

}
Thanks to:
https://angular.io/tutorial/toh-pt4#create-the-heroservice
navbar/navbar.component.ts
import { Component, OnInit } from '@angular/core';
import { WordPressService } from '../wordpress.service';

@Component({
  selector: 'app-navbar',
  templateUrl: './navbar.component.html',
  styleUrls: ['./navbar.component.css'],
})

export class NavbarComponent implements OnInit {

  constructor(public wpService: WordPressService) { }

  ngOnInit(): void {
     const req = this.wpService.getCategories();
     req.subscribe();
  }

}
Thanks to:
So now we have a route through the application to a REST API. But this is not necessarily our REST calls that we would make in reality. So first we need to setup API backend that does that calls to actual wordpress. This mean in future I could move the wordpress hosting to a more isolated and secure environment remotely in future.
Here comes the tricky part, I want Angular to include this in dist after my build process. From the documentation here:
https://angular.io/guide/workspace-config#alternate-build-configurations
We can define our API in assets and it should simply get copied across as static items. This is where I could put my API’s. So as a quick test I created a directory (api/wordpress/) structure and then created a .htaccess file with the following:
<IfModule mod_rewrite.c>
  RewriteEngine On
  RewriteBase /ang/new-blog/dist/new-blog/assets/api/wordpress/
  RewriteRule ^functions\.php$ - [L]
  RewriteCond %{REQUEST_FILENAME} !-f
  RewriteCond %{REQUEST_FILENAME} !-d
  RewriteRule . functions.php [L]
</IfModule>
This should redirect all requests within that directory to functions.php since that shall be the only file in that directory as it’s a fairly simple relay service. For now, as a simply test, we’ll just have functions.php do this:
<?php
echo "Hello World!"
?>
Now we don’t see a request go out in our google chrome inspect tab so let’s try and workout where this went awry. After much tedious effort I fixed it all up with the help of a few documents but this was the main one:
https://angular.io/guide/http#starting-the-request
Now I can see my request get made:

I now need to get this data into my angular component of the navbar and iterate the data and add to the Projects submenu.
Using the returned data I was able to modify my Category definition to:
export interface Category {
  count: number;
  description: string;
  id: number;
  link: string;
  name: string;
  parent: number;
  slug: string;
  taxonomy: string;
}
Using the following article to help:
I ended up with:
wordpress.service.ts
import { Injectable } from '@angular/core';
import { Observable, throwError } from 'rxjs';
import { catchError, retry } from 'rxjs/operators';
import { HttpClient, HttpHeaders } from '@angular/common/http';
import { pipe } from 'rxjs';
import { map } from 'rxjs/operators';


export interface Category {
  count: number;
  description: string;
  id: number;
  link: string;
  name: string;
  parent: number;
  slug: string;
  taxonomy: string;
}

@Injectable({
  providedIn: 'root'
})
export class WordPressService {

  constructor(
    private http: HttpClient) { }

  getCategories() {
    return this.http.get<Array<Category>>('http:\/\/edward-jones.co.uk\/blog\/wp-json\/wp\/v2\/categories', {responseType : 'json'});
  }

  private wordpressUrl = 'http://edward-jones.co.uk/ang/new-blog/dist/new-blog/assets/api/wordpress';
}
navbar.component.ts
import { Component, OnInit } from '@angular/core';
import { WordPressService, Category } from '../wordpress.service';

@Component({
  selector: 'app-navbar',
  templateUrl: './navbar.component.html',
  styleUrls: ['./navbar.component.css'],
})

export class NavbarComponent implements OnInit {

  rows: any;


  constructor(public wpService: WordPressService) { }

  ngOnInit(): void {
     console.log("Here");
     const req = this.wpService.getCategories();
     req.subscribe(
  (result: Array<Category>) => {
    console.log('success', result);
    this.rows = result
  },
  (error: any) => {
    console.log('error', error);
  });
  }

}
Now I could finally see getting the data and having it interpretted:
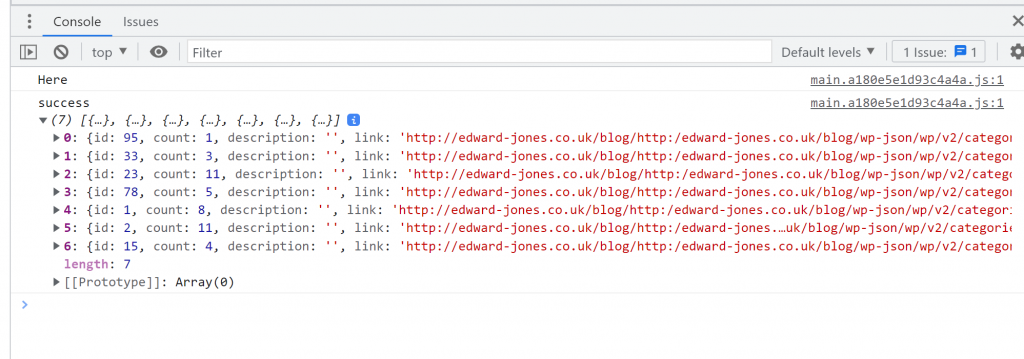
This appears all to be correct. Great, we now have a service where we can retrieve data from our service in the form of an array of categories and log these. Now let’s try and load this into our HTML template dynamically.
For our next part we should consider this excerpt:
https://ng-bootstrap.github.io/#/components/nav/examples#dynamic
We only need to do a small modification to start using our data in HTML and this is the part I really like, we simply modify our template like so:
  <nav class="navbar navbar-expand-lg navbar-dark bg-dark fixed-top">
    <div class="container">
      <a class="navbar-brand" href="http://www.linkedin.com/in/edwardjones149">Edward Jones</a>
      <button class="navbar-toggler" type="button" data-toggle="collapse" data-target="#navbarResponsive" aria-controls="navbarResponsive" aria-expanded="false" aria-label="Toggle navigation">
        <span class="navbar-toggler-icon"></span>
      </button>
      <div class="collapse navbar-collapse" id="navbarResponsive">
        <ul class="navbar-nav ml-auto">
          <li class="nav-item active">
            <a class="nav-link" href="index.php">Home
              <span class="sr-only">(current)</span>
            </a>
          </li>
          <li class="nav-item">
            <a class="nav-link" href="about.php">About</a>
          </li>
          <li class="nav-item dropdown">
                        <a class="nav-link dropdown-toggle" href="#" id="navbarDropdown" role="button" data-toggle="dropdown" aria-haspopup="true" aria-expanded="false">
                        Projects
                        </a>
            <div class="dropdown-menu" aria-labelledby="navbarDropdown" id="projects">
<a *ngFor="let a of rows">{{a.name}}</a>
                        </div>
          </li>
          <li class="nav-item">
            <a class="nav-link" href="contact.php">Contact</a>
          </li>
          <li class="nav-item">
            <a class="nav-link" href="javascript:void(0);" onclick="myFunction();">Subscribe</a>
          </li>
        </ul>
      </div>
    </div>
  </nav>
I’m not really doing anything with the data right now, I’m just trying to show I can iterate the array. My result is this:
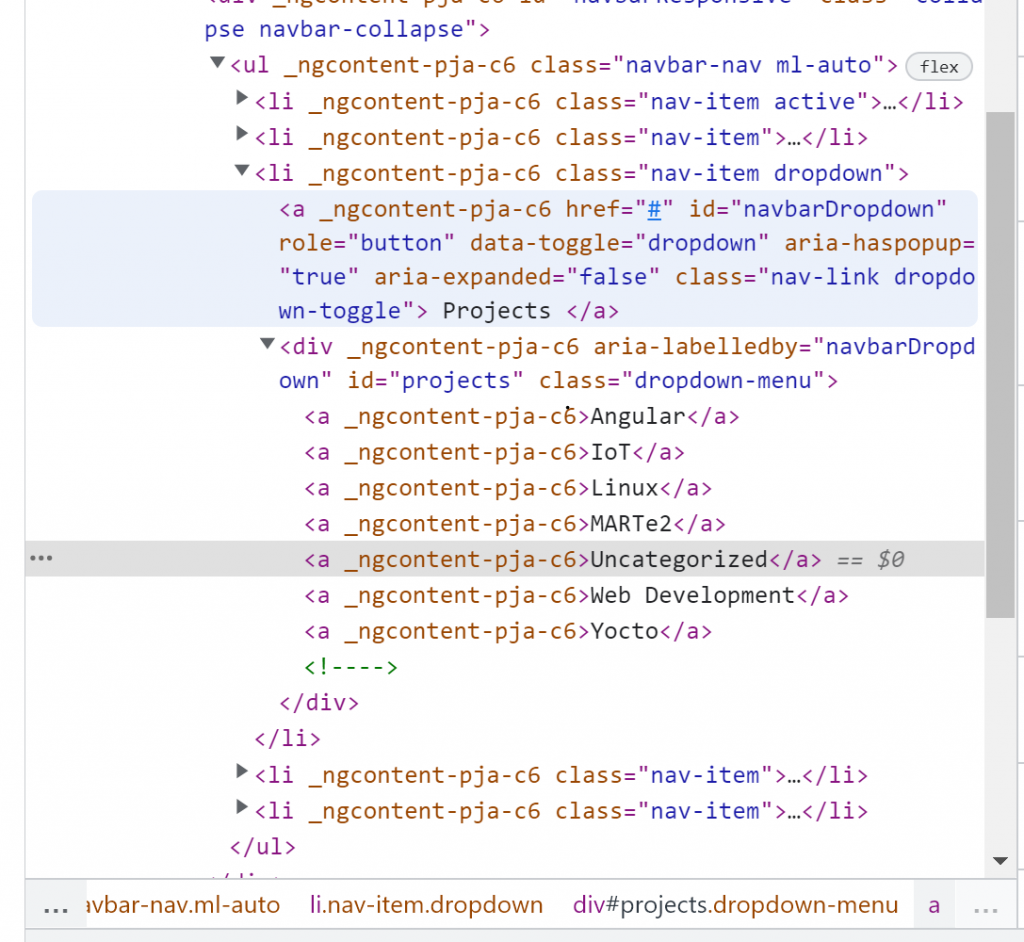
It’s a bit hard to see granted but for each category a link has been added to our projects div like it would on our actual website, but this time it is created with angular methods.
The only issue is that now when I scroll over the Projects item in the menu bar I don’t get the menu showing up. This is because I lacked a few attributes in this new style of html, thankfully this example guided me to a solution:
https://ng-bootstrap.github.io/#/components/dropdown/examples
And I ended up with this new html code:
  <nav class="navbar navbar-expand-lg navbar-dark bg-dark fixed-top">
    <div class="container">
      <a class="navbar-brand" href="http://www.linkedin.com/in/edwardjones149">Edward Jones</a>
      <button class="navbar-toggler" type="button" data-toggle="collapse" data-target="#navbarResponsive" aria-controls="navbarResponsive" aria-expanded="false" aria-label="Toggle navigation">
        <span class="navbar-toggler-icon"></span>
      </button>
      <div class="collapse navbar-collapse" id="navbarResponsive">
        <ul class="navbar-nav ml-auto">
          <li class="nav-item active">
            <a class="nav-link" href="index.php">Home
              <span class="sr-only">(current)</span>
            </a>
          </li>
          <li class="nav-item">
            <a class="nav-link" href="about.php">About</a>
          </li>
          <li ngbDropdown class="nav-item dropdown">
                        <a ngbDropdownToggle class="nav-link dropdown-toggle" id="navbarDropdown" role="button" data-toggle="dropdown" aria-haspopup="true" aria-expanded="false">
                        Projects
                        </a>
            <div ngbDropdownMenu class="dropdown-menu" aria-labelledby="navbarDropdown" id="projects">
<a ngbDropdownItem *ngFor="let a of rows">{{a.name}}</a>
                        </div>
          </li>
          <li class="nav-item">
            <a class="nav-link" href="contact.php">Contact</a>
          </li>
          <li class="nav-item">
            <a class="nav-link" href="javascript:void(0);" onclick="myFunction();">Subscribe</a>
          </li>
        </ul>
      </div>
    </div>
  </nav>
Note the ngb attributes to the html div and a tags. My result is also:

Wahey! So we have done the following:
- Used a service we created to get json data from the wordpress REST API.
- Have a component for our navigation bar which calls on this service to load the projects page.
- Display all of this within our main application.
Okay so one final thing we’re going to do before moving onto part 2 where we get into page routing, we’ll finish up the footer.
We start by repeating as before:
ng generate component footerIn our footer.component.html I have:
<!-- Footer -->
<footer class="py-5 bg-dark">
<div class="container">
<p class="m-0 text-center text-white">Copyright © Edward Jones 2020</p>
</div>
<!-- /.container -->
</footer>
A basic copy and paste of my actual webpage.
I then simply modify my app.component.html and add:
<app-footer></app-footer>
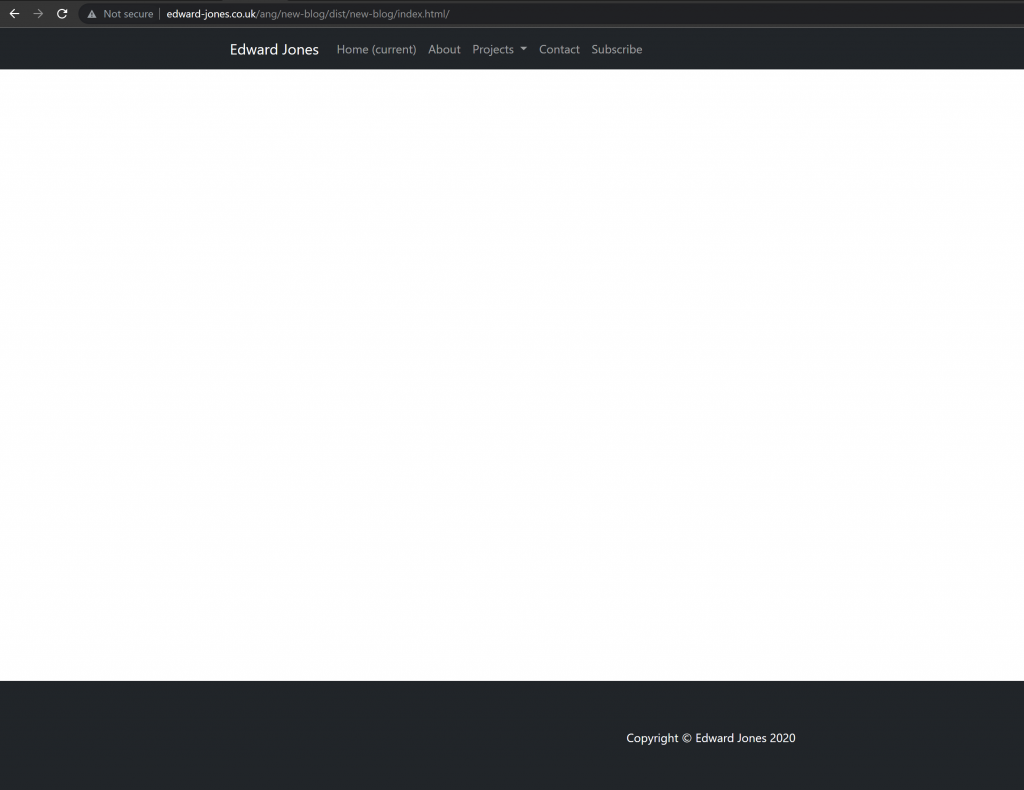
Now we do sort of get our footer:
I recall the footer always being a pain to align. Falling back to this thorough and great article:
I ended up with this for my app.component.html:
<app-navbar></app-navbar>
<router-outlet></router-outlet>
<app-footer></app-footer>
Then for my css I modify footer.component.css to include:
footer {
    position: absolute;
    right: 0;
    bottom: 0;
    left: 0;
    padding: 1rem;
    text-align: center;
}
And hey presto I have my footer on the bottom of the page!
Okay so now we’re ready for part 2. In Part 2 I’ll be implementing the routing methodology to load our pages actual content whether that be the home/index page, about page, a category or article or the contact page. We’ll sort out the subscribe function later.
For the first part, we’ll start with the About page as this is the simplest page to setup.